Showing posts with label fabric. Show all posts

November 12, 2012

Picture Hanging Trick

    Our living room walls are incredibly bare; it is sad. To make up for the fact that we have no art that matches the look of our living room, I came up with the idea of hanging 5 monochromatic canvases I spray painted blue. I have 2 canvases of one size and and 3 of the other (odd numbers look better, but 3 wasn't quite enough and 5 of the same size was too big.) For visual interest, 2 are flipped vertical while the others remain horizontal. I worked all this out by laying them out on the living room floor and trying several different configurations until I found this one.

     And I will be honest, I hate hanging pictures.  Especially when I have to do math or use a ruler- two things that aren't hard by themselves, but when combined with my brain making things overly complicated, become impossible to use when hanging frames. But, I still like to have beautifully straight pictures that are exactly as far away from each other as I want. So I came up with an alternative method that my brain understands better.


August 29, 2012

Curtain Drama, Part 2

Hello again,

Measurements (1.5 X length; add 6" to height)
     I just finished the curtains for my room. This project was full of decisions, starting with whether or not I wanted to buy commercially made curtains or make my own. The window in my new bedroom is rather large (74"x 60"), which means usually means expensive. An added challenge was the amount of light being let through at all times- my room was as almost as bright during the day as at night- which was the whole reason I thought of doing curtains. I needed to make sure I got black out material to solve this problem.

    After looking at multiple stores to curtains, I decided to make my own. All the ones I saw were either too childish (bright colors, sheer, glitter) or too grown up (boring colors, muted tones). I really needed something in between, so onward and upward to the fabric store. I went to Jo-Ann's, and though I will be the first to admit they aren't my favorite craft store, they did have a home decor section with blackout curtain material. The Hobby Lobby across the street did not (...I miss you hancock fabric).
Blackout fabric: middle seam   Make sure so sew both sides of the seam (1/8") so that one side doesn't flap open


August 27, 2012

Curtain Drama, Part 1

     I desperately need curtains in my bedroom. After being attacked by something (eww, creepy bugs that bit my face) on our family reunion in upstate NY, I threw out my face sleeping mask. When I moved to Houston, I realized how much light came into my room at night, but couldn't bring myself to buy another mask just in case it happened again (eww, creepy bugs that bit my face). Curtains were the answer!
     The story of how I finally got my curtains will be in the next part post. This is the story of how I made my curtain rod. After wandering around Home Depot for almost 2 hours, I was emotionally exhausted. Who knew putting up curtains and a shelf in my closet would be so draining? All the curtain rods for a window my size were ridiculously expensive ($27-$32) and I would still have to buy curtains to put on these rods. The tension rods, while cheaper, wouldn't be able to hold up the amount/weight of fabric that my curtains were sure to have being blackout style. 
Curtain Rod assembly, once complete: Closet rod + U conduit clamp + screws + end caps + spraypaint

August 24, 2012

Measure Twice, Cut Once

    Ah yes, the age old adage: measure twice, cut once. Meaning that if you take proper time to figure out what you are going to do with a project before jumping in willy nilly, you (hopefully) won't have to do it over again.  But I have never been one to listen to tried and true wisdom and In dislike tedious calculations (I'd rather eyeball it- which made my decision not to pursue architecture fairly obvious.) So, instead I ended up having to do much more trouble shooting with these three projects than I would have if I had just measured and thought about what I was doing before I started sewing.
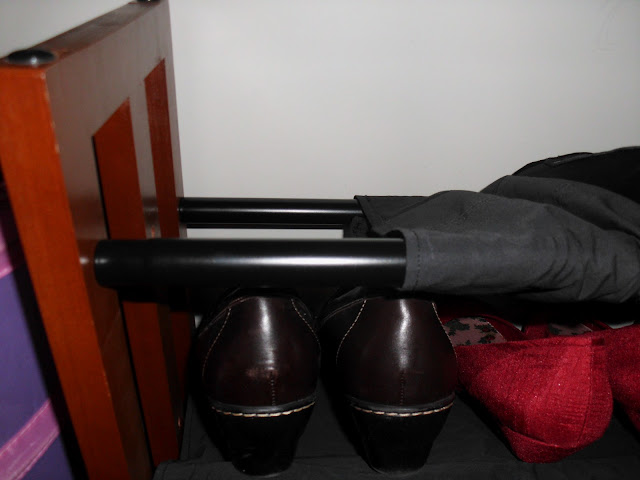
Finished product: 2 metal slats that make up the tiers, covered in a fabric sleeve to keep shoes from falling through

    I have lots of fun projects to tackle now that I am living in Houston, Texas. So, first things first: make sense of my shoes. My brother gave me a shoe rack with 3 tiers a while ago, however, whenever I used it, my shoes would always fall through. Basically, it is missing the middle metal rung on each tier (no idea what happened to them...) When I moved, it got taken apart and it was the perfect opportunity for me to fix the problem. My solution? Making sleeves out of fabric (I was thinking of wrapping paper at first, but I didn't go for that as I had more fabric and no wrapping paper). It probably would have worked fairly well with the paper, but fabric will stand the test of time for sure.
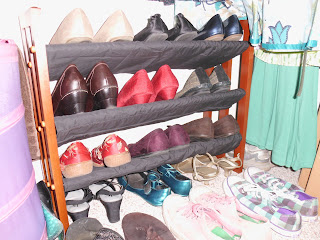
It looks classier with fabric sleeves
     This, of course, should have been an easy problem. You have a length/width of fabric and you measure around the bars. I could have wrapped a piece of string around this and measured. Easy right? But I didn't do it that way. Instead, I tried to use a length of fabric I had left over from a previous project, thinking that sewing the ends together I would have plenty of room. Not so much. However, I carried on, squeezing it over the rungs/tiers and making the next two sleeves. Unfortunately, when I went to screw in the second set of screws, I had a bit of a problem on my hands. The material was too tight on one end (yes, on all three of the pieces.)

     So I had to take it apart and sew on a scrap length of fabric to make it fit. Not my most stellar craft moment, for sure.  After that, they fit. Thank goodness.
 

February 17, 2012

Baby Tees

The happy recipient
     So in my last blog, I wrote about wanting to combine silk screening with my slice die-cut machine. I found the perfect project in making baby clothes. This is something my mom has wanted me to do ever since I got the Yudu silk screening machine (to be honest, I think that is the real reason I got it.) But anyway, baby clothing is always so adorable and the pieces we love the most are always hand printed or hand sewn little jewels in a wardrobe.

    Since I was bringing over some of my weapon pillows for my cousins, I figured the newest addition to our family should also get a little something uniquely made. Why not a baby romper....with a throwing star or with my dad's face on it. A perfect baby gift, right? Ok, I thought so, my mother wasn't so sure. But honestly, she should be happy I put her idea (with a few tweaks) to actual use.  : )  Just don't throw the baby.

January 20, 2012

"Pillow Fight!!!!!!"

     So, it is still pretty cold here and I am still mostly doing indoor crafts (the papermaking has been saved for days where my hands won't freeze as I splash water everywhere in the garage).  Also, with Christmas came presents and one of my presents this year was a Slice machine! Basically, it is a die cut machine like a Cricut, which allows you to cut out different shapes and sizes depending on what design cards you have. I am really excited to start incorporating this into my cards as well as any new paper (or fabric) oriented crafts I do in the future.
Finished products, laid out like a plushy arsenal, ready for play
     Another fun project I am working on has to do with my friend Jordan. She asked me to create some pillows that would be more fun in a pillow fight, like a light-saber pillow, grenade pillow, nun chuck pillows, etc. I immediately jumped on the chance to try this new project out not only because it was a great idea, but also because it would allow me to use another fun toy I acquired recently, a YUDU machine. This is an all-in-one screen printing machine and so far I have had not only great fun, but great success using it.

November 29, 2011

Vintage Goggles, meet Steampunk


                                     Steampunked!

 I got these vintage WWII era goggles at a flea market a couple of years ago. I thought that they looked really neat with the green glass inside the frames. Unfortunately, they were a little ravaged by time and most of the fabric on the sides was ripped off. That was a total bummer, but I figured I could always repair them if I needed. Then, I kind of forgot about them, thinking they made a cool vignette on my shelves.
    Recently though, my friend told me she needed a costume for a steam punk convention that her boyfriend wanted to go to around New Year's time. This gave me the incentive to take another look at the goggles, to see if I actually could repair them. After toying with them for a little while, I realized I wasn't going to save any of the fabric because it was literally falling apart in my fingers. I unscrewed the frames from the goggles and stripped all the fabric off of the wire and started fresh.

September 26, 2011

Hair Clips

Materials:

  • ribbon (1/8"-1/2") any color
  • stickers, glitter, fridge magnets, comics, or any other decorations you want
  • bottle caps (if you don't want the brand to show through, spray paint them a fun color first)
  • hot glue gun + glue sticks
  • blank hair clips or pins (you can get these at a craft store)
  • (optional) cardboard cut out in the same shape/size as the bottle caps - these are used to make the inside of your bottle caps less deep inside before you add decorations. 

September 3, 2011

Another Bracelet Project

Behind the Seams:
My sketch of what Kayla wanted
      Last time I saw my friend Kayla, I promised her a bracelet like I made for Kelcie (check it out on the sewing projects page) for her birthday. Though her birthday was in May, I decided it was about time she got a present. :) Better late than never, right?
   
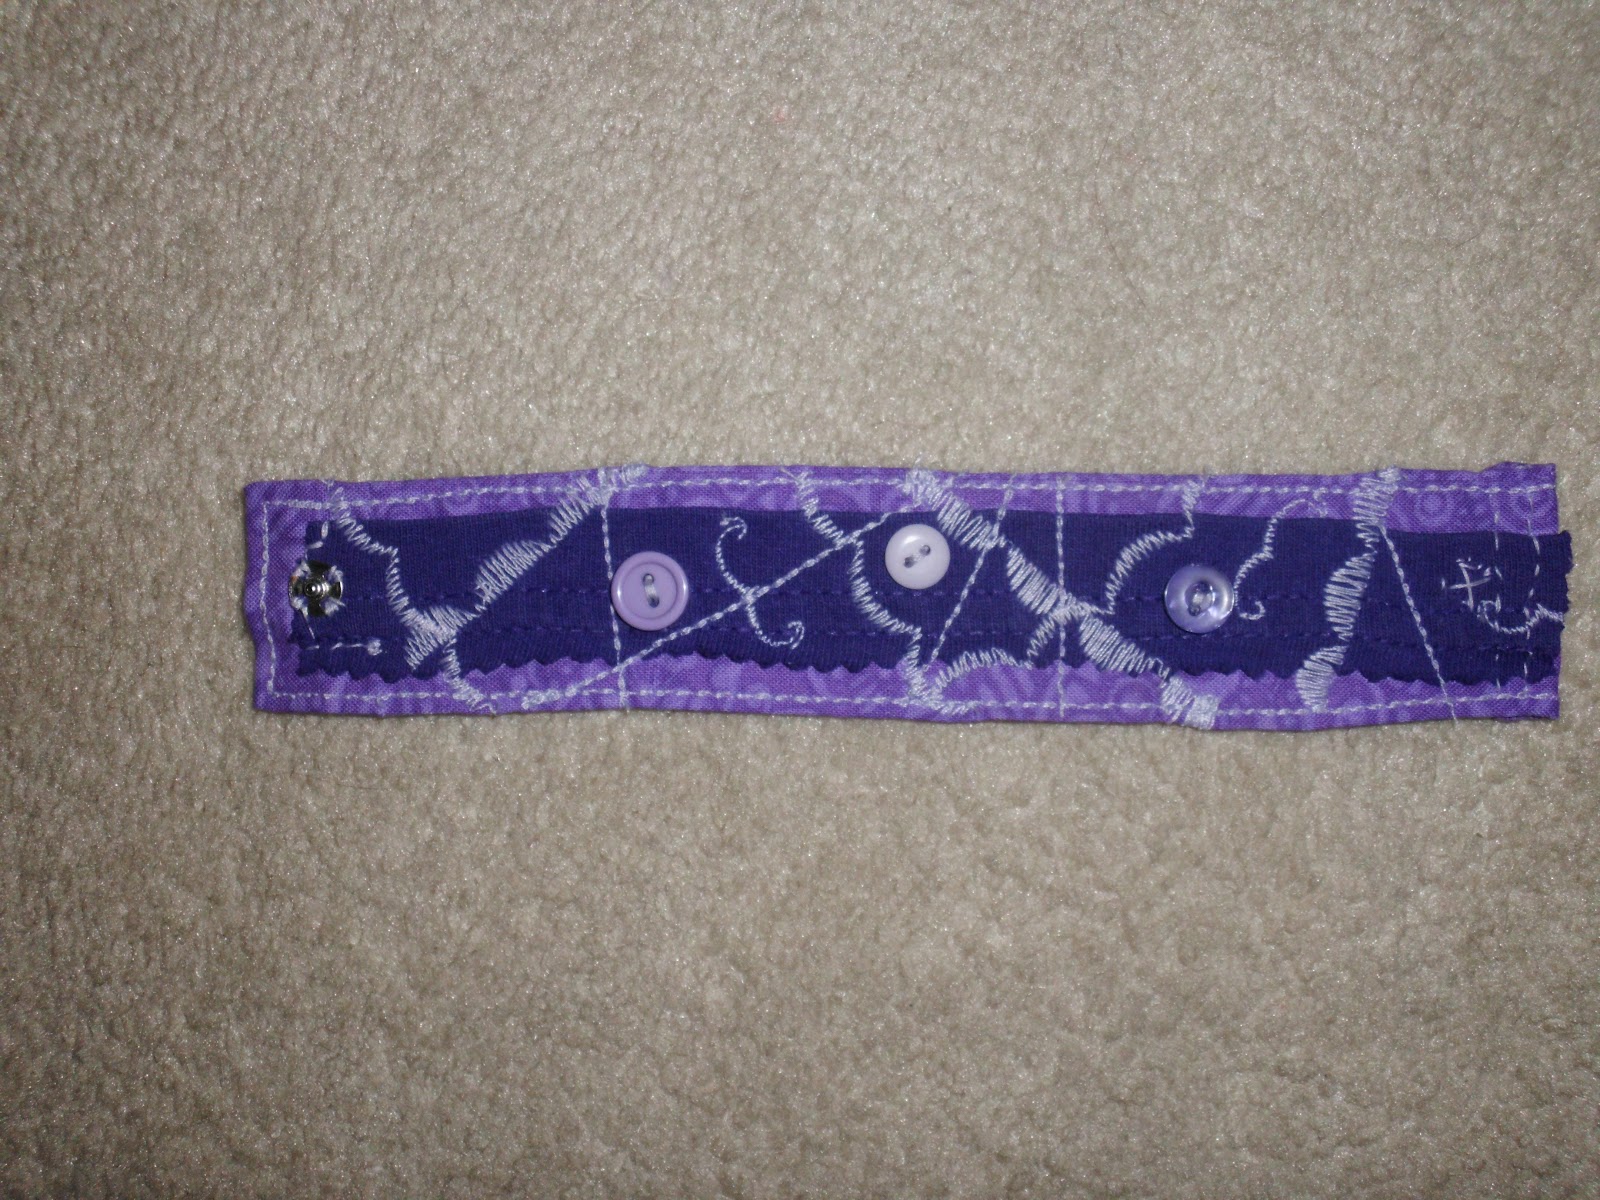
Reversible Bracelet, "inside" shown
       Anyway, we discussed what she wanted (length, color, snap or button, etc.) and I had it written down. It's been another while and I remembered I would see her for our first Project Runway viewing party at my house, so I finally got down to business and worked on it. She said she wanted an entirely monochromatic bracelet and realized she had no jewelry in purple yet, so that's the color we decided. Luckily, purple is one of my mother's favorite colors and I have been cutting up lots of t-shirts for other projects, so we have lots of purple scraps to work with at my house.


Materials: 

  • 1 scrap of fabric, roughly 7 inches long and 2 inches wide
  • 1 scrap of fabric, roughly 6 inches long
  • Buttons, color/size your choice
  • Thread, color your choice
  • The "outside" of the bracelet
  • closure (either a snap or button)
How to:
  1. Take 7"piece and put wrong side together and sew around 1 long and 1 short edge, leaving one side open to turn right side out.
  2. Tuck in raw edges and then topstitch sew around entire rectangle (1/8" seam)
  3. Pin 6 inch fabric to middle of rectangle/cuff
  4. Sew in crazy patterns and directions until you have a pleasing effect, changing color threads if you want a multi-colored look
  5. Sew on buttons in places that are lacking thread or in areas you want as your main design
  6. Sew on the snap or other type of closure, fitting it to your wrist


     This is a nice, simple project that doesn't take very long to work on and the end result is very pleasing (my opinion, of course). You can use scraps and come up with a variety of looks, which is cool. In this bracelet, I used the hemline of a t-shirt for the dark middle purple mixed with a print I bought at Hancock Fabrics a long time ago. Depending on how you do the stitching and what color/type of buttons you use, you can really change the look of the bracelet.  Also, try adjusting the width of the cuff from skinny to fat!