November 29, 2011

Vintage Goggles, meet Steampunk


                                     Steampunked!

 I got these vintage WWII era goggles at a flea market a couple of years ago. I thought that they looked really neat with the green glass inside the frames. Unfortunately, they were a little ravaged by time and most of the fabric on the sides was ripped off. That was a total bummer, but I figured I could always repair them if I needed. Then, I kind of forgot about them, thinking they made a cool vignette on my shelves.
    Recently though, my friend told me she needed a costume for a steam punk convention that her boyfriend wanted to go to around New Year's time. This gave me the incentive to take another look at the goggles, to see if I actually could repair them. After toying with them for a little while, I realized I wasn't going to save any of the fabric because it was literally falling apart in my fingers. I unscrewed the frames from the goggles and stripped all the fabric off of the wire and started fresh.

November 2, 2011

Halloween Project, Doggie Dino

The classy dino pup waiting for trick-or-treaters at the door

Ok, I saw this idea in Martha Stewart living and couldn't resist trying it myself. Though I don't have a dog, one of my friends said I could dress her dog up for Halloween. Wooohooo! My cat never lets me dress her up any more, so this is a great new avenue for me.

Here is the link as well as some instructions for how Martha did her tank: http://www.marthastewart.com/852544/doggie-dino-tank?czone=holiday/halloween-center/halloween-center-costumes 


However, I did things a bit differently based on what I had available. So....

Supplies:
Inside, with all spines inserted
  • tank (my friend's dog is medium size and turns out she fit about a child's small t-shirt)
  • foam sheets (mine was green, but I think black might have looked even better)
  • sewing machine (optional)

October 22, 2011

Halloween Recycling Projects

The finished product
 SPOOKY SPIDER, front yard decoration

 Halloween is my dad's favorite holiday and we love to go all out in the yard making a spooky scene. Usually there is at least one or two kids that refuse to walk to our door because they are scared of what is in our yard. While the classic graves have shown up in our front garden many a time, this year, dad and I tried to go for something new.

 Supplies
(really, you can use whatever you have lying around - that's what we did- but, here is what we used to achieve the final look): 
Supplies!

Stuffing
  • 2 black tarps (one to wrap, one to cut and cover the "hairy" legs)
  • PVC pipe, cut so the legs are "akimbo"
  • trashcan
  • ice chest, styrofoam
  • egg crate mattress
  • lawn chair cushion
  • wicker lawn chair
  • wood stump
  • heat lamp w/ red light bulb
 Securing
  • bungee cord
  • rope 
  • cord
  • watering hose

September 26, 2011

Hair Clips

Materials:

  • ribbon (1/8"-1/2") any color
  • stickers, glitter, fridge magnets, comics, or any other decorations you want
  • bottle caps (if you don't want the brand to show through, spray paint them a fun color first)
  • hot glue gun + glue sticks
  • blank hair clips or pins (you can get these at a craft store)
  • (optional) cardboard cut out in the same shape/size as the bottle caps - these are used to make the inside of your bottle caps less deep inside before you add decorations. 

September 17, 2011

Cupcakes- Trublood Themed

Finished: glass shard cupcakes


The Ingredients:
  • Cupcakes (any flavor you want; I used chocolate and vanilla)
  • Frosting (any kind you want; I used cream cheese)
  • Filling
    • Pudding (any flavor you want; I used vanilla)
    • Whipped cream
  • Toppings
    • Glass Shards 
      • 3/4 cup of white sugar
      • 1/4 cup of water
    • Maraschino cherry syrup

September 8, 2011

Glass Towers

Instructions:

  1. Find lots of sturdy, 1" or thicker, glasses
  2. Get a heavy duty, clear drying epoxy glue
  3. Lay down an old quilt or towel or tarp 
  4. Lay out the pieces in a pleasing shaped tower (from a sturdy base to a smaller top seemed to work best, at least in our experience), but horizontally so none of them break
  5. Assemble two pieces at a time, using heavy duty glue (blech, we had one that smelled like asphalt)
  6. Hold pieces together (if using fast drying glue); OR tape/tie/clamp pieces together gently until glue dries all the way
  7. Keep assembling with glue until tower is complete and let dry completely before placing outside

September 3, 2011

Another Bracelet Project

Behind the Seams:
My sketch of what Kayla wanted
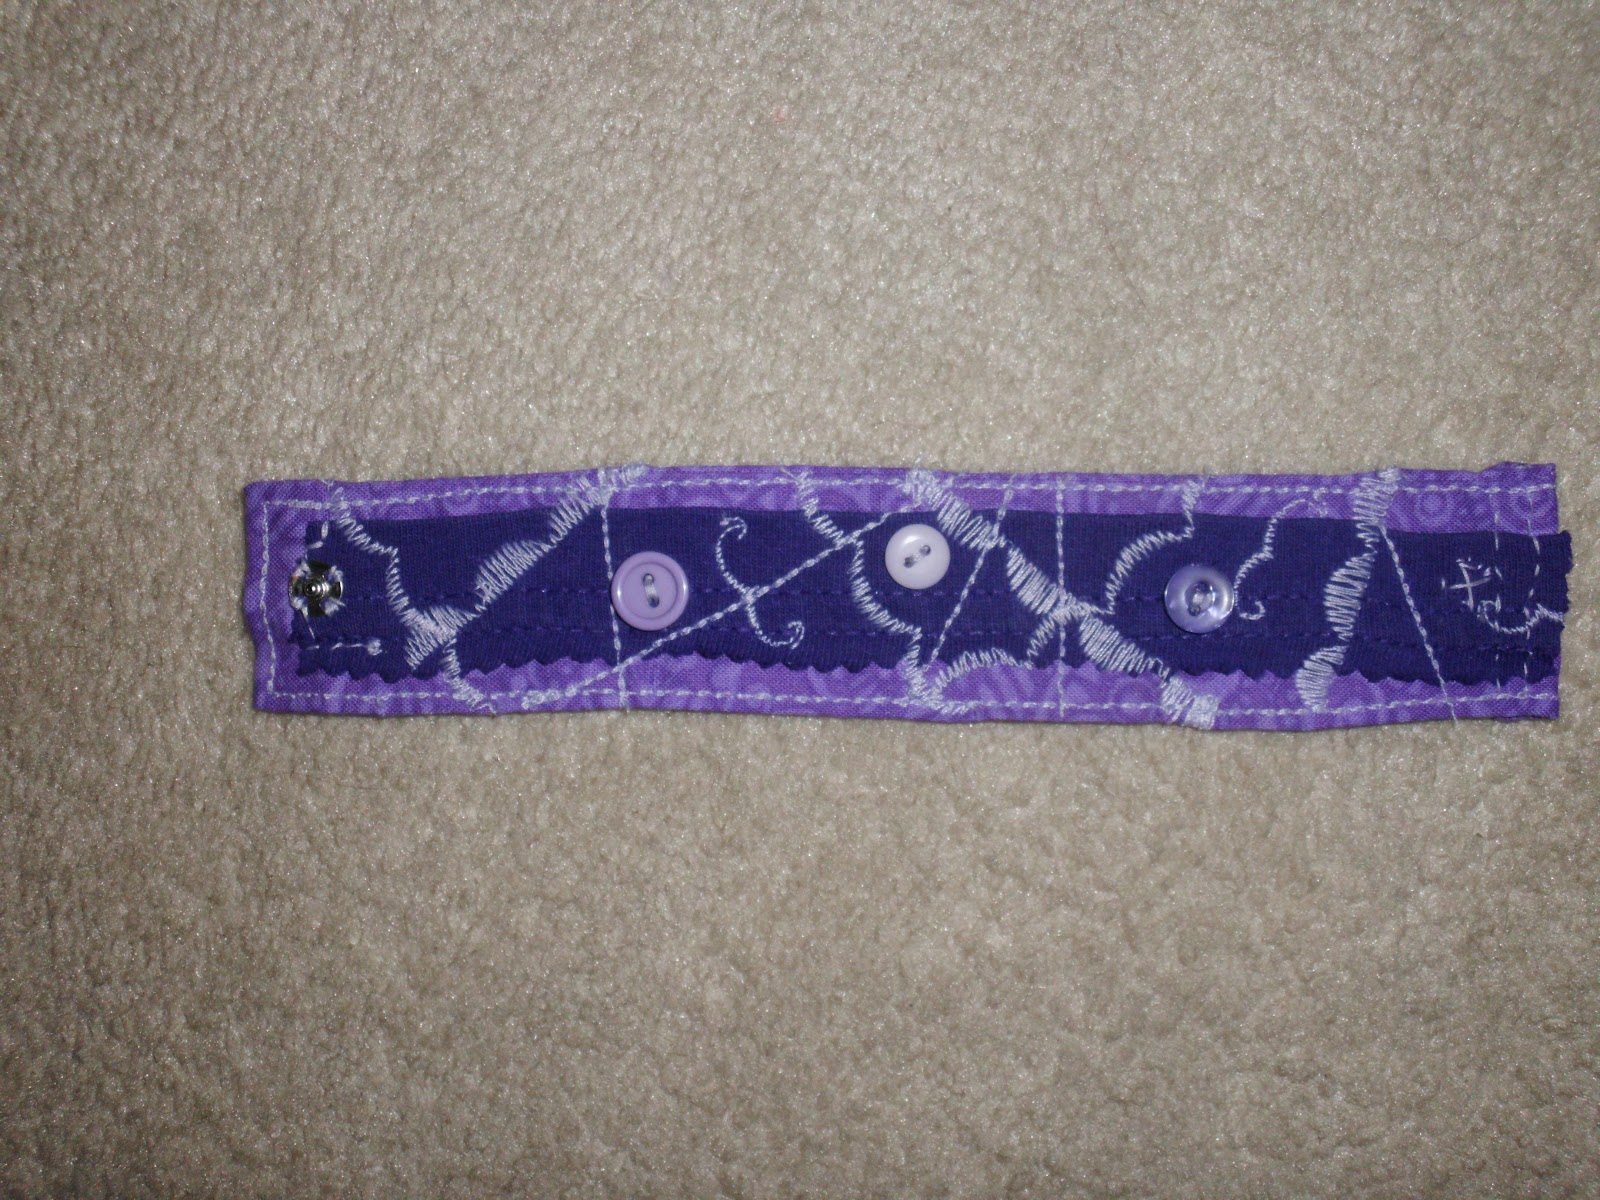
      Last time I saw my friend Kayla, I promised her a bracelet like I made for Kelcie (check it out on the sewing projects page) for her birthday. Though her birthday was in May, I decided it was about time she got a present. :) Better late than never, right?
   
Reversible Bracelet, "inside" shown
       Anyway, we discussed what she wanted (length, color, snap or button, etc.) and I had it written down. It's been another while and I remembered I would see her for our first Project Runway viewing party at my house, so I finally got down to business and worked on it. She said she wanted an entirely monochromatic bracelet and realized she had no jewelry in purple yet, so that's the color we decided. Luckily, purple is one of my mother's favorite colors and I have been cutting up lots of t-shirts for other projects, so we have lots of purple scraps to work with at my house.


Materials: 

  • 1 scrap of fabric, roughly 7 inches long and 2 inches wide
  • 1 scrap of fabric, roughly 6 inches long
  • Buttons, color/size your choice
  • Thread, color your choice
  • The "outside" of the bracelet
  • closure (either a snap or button)
How to:
  1. Take 7"piece and put wrong side together and sew around 1 long and 1 short edge, leaving one side open to turn right side out.
  2. Tuck in raw edges and then topstitch sew around entire rectangle (1/8" seam)
  3. Pin 6 inch fabric to middle of rectangle/cuff
  4. Sew in crazy patterns and directions until you have a pleasing effect, changing color threads if you want a multi-colored look
  5. Sew on buttons in places that are lacking thread or in areas you want as your main design
  6. Sew on the snap or other type of closure, fitting it to your wrist


     This is a nice, simple project that doesn't take very long to work on and the end result is very pleasing (my opinion, of course). You can use scraps and come up with a variety of looks, which is cool. In this bracelet, I used the hemline of a t-shirt for the dark middle purple mixed with a print I bought at Hancock Fabrics a long time ago. Depending on how you do the stitching and what color/type of buttons you use, you can really change the look of the bracelet.  Also, try adjusting the width of the cuff from skinny to fat!