Ah yes, the age old adage: measure twice, cut once. Meaning that if you take proper time to figure out what you are going to do with a project before jumping in willy nilly, you (hopefully) won't have to do it over again. But I have never been one to listen to tried and true wisdom and In dislike tedious calculations (I'd rather eyeball it- which made my decision not to pursue architecture fairly obvious.) So, instead I ended up having to do much more trouble shooting with these three projects than I would have if I had just measured and thought about what I was doing before I started sewing.
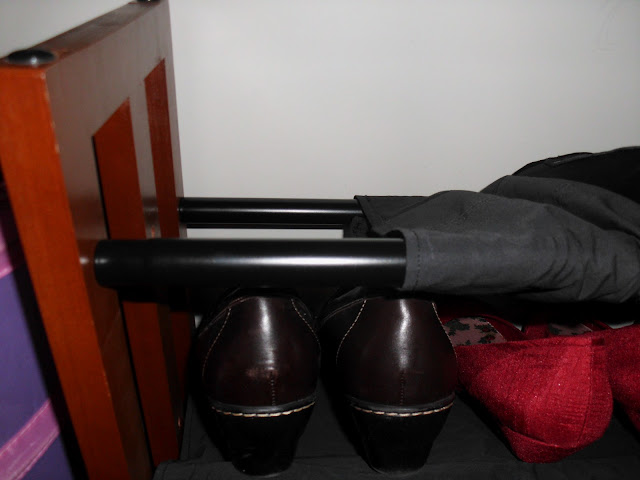 |
| Finished product: 2 metal slats that make up the tiers, covered in a fabric sleeve to keep shoes from falling through |
I have lots of fun projects to tackle now that I am living in Houston, Texas. So, first things first: make sense of my shoes. My brother gave me a shoe rack with 3 tiers a while ago, however, whenever I used it, my shoes would always fall through. Basically, it is missing the middle metal rung on each tier (no idea what happened to them...) When I moved, it got taken apart and it was the perfect opportunity for me to fix the problem. My solution? Making sleeves out of fabric (I was thinking of wrapping paper at first, but I didn't go for that as I had more fabric and no wrapping paper). It probably would have worked fairly well with the paper, but fabric will stand the test of time for sure.
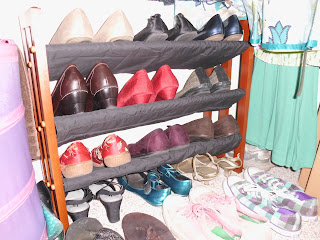 |
| It looks classier with fabric sleeves |
This, of course, should have been an easy problem. You have a length/width of fabric and you measure around the bars. I could have wrapped a piece of string around this and measured. Easy right? But I didn't do it that way. Instead, I tried to use a length of fabric I had left over from a previous project, thinking that sewing the ends together I would have plenty of room. Not so much. However, I carried on, squeezing it over the rungs/tiers and making the next two sleeves. Unfortunately, when I went to screw in the second set of screws, I had a bit of a problem on my hands. The material was too tight on one end (yes, on all three of the pieces.)
So I had to take it apart and sew on a scrap length of fabric to make it fit. Not my most stellar craft moment, for sure. After that, they fit. Thank goodness.
 |
| measuring- second time's the charm |
Project two was fixing the runner on the banquet table - or whatever that side table in the dining room is called. My brother had recovered the chairs with some fabric and had a runner that matched. But it was just a rough cut piece of fabric that had been the leftovers of this project. There is a sewing machine in residence now, so it was time to fix that problem. The solution, create a hem on both sides of the fabric and leave the tasseled ends alone. Easy enough, right? Wrong again.
I started pinning, knowing I could create a straight line by matching up the lines on the stripes. So I pinned the whole thing, and then went about checking the width to make sure it matched all along the piece. Of course, it didn't. So I had to take the pins out on 1/2 of one side. Then I used a measuring tape to make sure I stayed within 6 centimeters. Only problem was, the other half only had enough room for 5 1/2 centimeters.
 |
| sewing the seam, hem tucked under |
So I had to undo my pins again. Blast. And I hope I learned from that, leave more room for seaming then you think you need. After pinning it, it was easy enough to sew. Just a straight seam down the middle of the edge. Only I barely had enough of the matching tan thread to get me through and I had put most of it onto the bobbin. Oops. Then the machine was snarling and being angry, but once I got that worked out, we had, tada, a finished table runner!
 |
| finished product = snazzy |
The third project I worked on this week was to alter my bedskirt to fit a queen size. Luckily, I was decreasing instead of increasing - going from a King size to a Queen size bed. The bedskirt was a hand-me-down from my parents (I've never had anything larger than a twin bed before moving here.) My mom thought I could just tuck it, but as OCD as I am (plus having a sewing machine and lots of time on my hands), I figured why not go ahead an sew it to the correct size.
 |
| tucking, smoothing, pinning the seams |
I would use a basting stitch in case I ever needed to take it out and use it as a king size bed skirt again. So, I set it out on top of the bed and looked at what I needed to do. I had learned my lesson of giving myself enough room, meaning I wasn't going to try and make the corners so tight that it ended up not fitting.
I was going to take a seam right down the middle, but then I realized in the original ruffle, they had folded over both edges so that it was even on both sides. So I decided to make two double seams, one tuck on either side to mimic the original folding of the material. I tucked and stuck pins into the fabric as I went; tuck, smooth, pin, repeat. I did this until I had both of the seams pinned on one side.
 |
| Sewn seams mimic the tucks already existing in the middle (which are kind of hard to see in this picture, I realize now) |
Then I went to sew the project. It went fairly well, considering it was a bulky object to sew. I
had already learned my lesson from working on the t-shirt quilt about tucking/rolling the sides so that the fabric doesn't get in the way as much. I did learn something new about my sewing machine while I was working. I had set it on a basting stitch, which was a left aligned needle. This is fine, but I wanted it to be in the middle, so I switched the position.
Unfortunately, what I didn't realize was that switching the position also turns off the stitch length (no idea why- it's a new home from the 80's/90's). I finally figured it out halfway through the last seam (so 3 out of 4 are stitched with tiny stitches. Oops.) And I had been wondering why it was taking so long to sew- duh. Fortunately, the result was the same and I ended up with a queen sized bed skirt perfect for my new bed. Hurrah.
 |
| much classier than seeing boxes |
|
Next project- blackout curtains for my room. Stay tuned.


No comments:
Post a Comment